
My birthday was on Friday - 11/11/11. I received this much wanted Breville Pie Maker. I've had my eye on this for quite some time and have read all the reviews on it and was anxious to try it myself. Today was the day! This pie maker is only sold at Williams Sonoma and it's now on sale for $99. I wanted my first pie making experience with my new machine to be really easy, so I purchased the refrigerated Pillsbury pie crust. I also purchased 2 cans of Wilderness pie filling - raspberry & cherry. I started out by very lightly seasoning the non stick surface with vegetable oil. Then I plugged it in to preheat.

I know these photos are dark and not so good but I was so excited to post my experience that I had very poor light and just went with it. Anyway......I simply unrolled the crust, used the cutter that's inluded in the box (1 size for the bottom crust & another for the top crust). It was so easy to cut the bottom crust, place it on the non stick surface and then softly push it into the mold with another plastic gadget that they include for just that purpose.

Once all 4 of the bottom crusts were in the wells, I placed 1/3 cup of filling into each well. That's how much the instruction book says to use. They warn against too much filling because of overflowing.
Afterward I felt like I could have added a bit more.

I missed photos of some steps, but after you fill each bottom pie crust with filling, you place another circle of pie crust on top of that. You do not have to press or crimp the edges because the machine does that as you close it while baking. The machine fully closes and locks while baking. I baked mine for about 15 minutes.
I should have taken my pies out sooner but the top of my pies still had a soggy patch of crust so I had to keep them in and now the edges are too dark. Not sure how to remedy that but I just need to play around with it more. I tell you one thing, I really did NOT like that Pillsbury crust. I will not purchase that again! I will try another brand or try making my own.

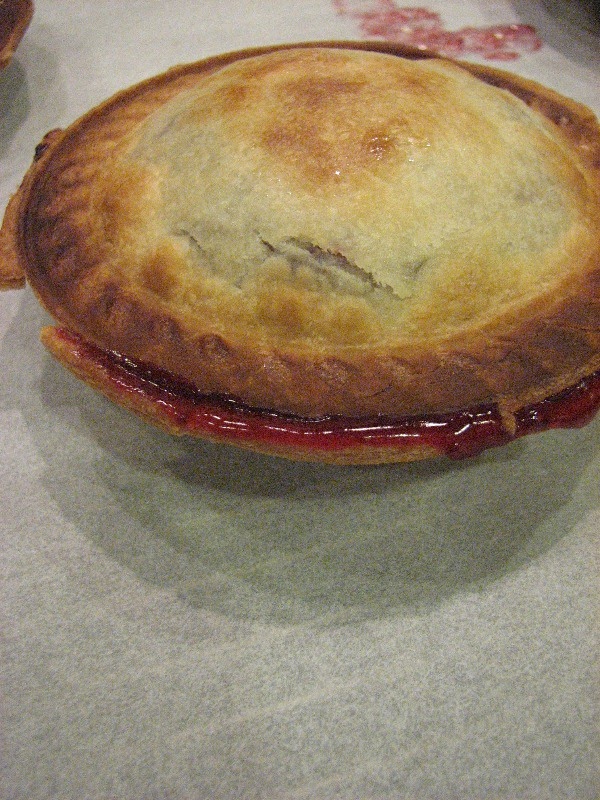
This is the only pie that had a bit of seepage. I don't think it was overfilled. I think the edges didn't crimp tightly on this one.

The bottom crust was perfectly done and the top of the crust was fine. It was only the edges that were too done.
Overall, I'm really pleased with my new pie maker so far. I just need to figure out how to prevent the edges from getting so brown. I received a book with it that was written especially for this machine. It has everything from fruit pies, to savory chicken pot pies to quiches and mini pizza pies. I can't wait to try them all. I will be sure to post again when I make something else. Here is the link below to Williams Sonoma.


2 comments:
Hi Heidi, I like you could not wait for my Breville Pie Maker.....mine came for Christmas! I made apple pie's with mine. I made my own filling but used a pre-made pie crust, my edges are much darker than yours and some of my tops didn't look done but I couldn't leave them in any longer, and I found out when eating them that they were indeed done. Have you had any success with keeping your edges from becoming too dark???? Have you baked anything else with this pie maker? Do you know if we can do a one crust pie??? Loved your post! Lisa
I've found mini pie makers to be tricky to use. They use to burn my pies before I discovered this clever tool. Now I bake golden pies almost every time, no more burning. Some of you can get the mini pie tool for free here. I love my pie maker now and have learn how to bake pumpkin pies in it. Something the manual said we couldn't do. Did you know you can use sliced bread for the crust? It works pretty well.
Post a Comment